Dockerizing a basic Node.js/Nest.js application
Today we will Dockerize a Node.js application. We will use Nest.js for today. But the commands and processes are exactly the same for any Node.js application built by some other frameworks (like Express.js).
What is Nest.js, and why are we using it?
Nest.js is a progressive Node.js framework. There are so many ways to structure Nodejs projects especially when we use Express or other similar frameworks. But it can be a problem when multiple people work on the same project. Nest.js comes to the rescue in these scenarios. It follows a certain pattern of creating a project and helps to keep the different modules of our app separate from each other, which is great!
Getting started with Nest.js
First, we need to install the Nest.js cli. Run the following command on your terminal.
npm i -g @nestjs/cliAfter installation is complete, we can easily scaffold a new Nest.js app like this.
nest new example-appAfter initializing, we can go into the project directory and start the project immediately!
cd example-app

yarn start:dev
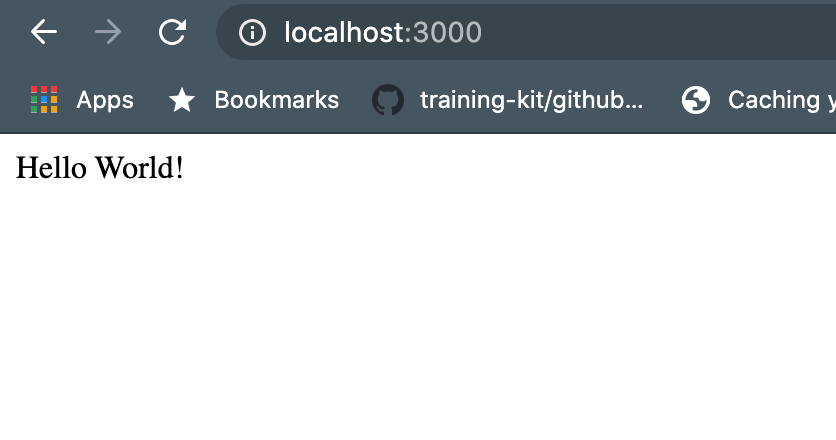
Your project will run at port 3000 on your local host. Open your browser and go to http://localhost:3000/, and you will get a ‘Hello World’ response!

What is Docker, and why should we use it?
Docker is a way of containerizing your application so that you don’t have to worry about the different runtime, dependencies, or versions. If a docker Image runs on your local machine, it will run on any machine. It’s great for easily deploying our apps or sharing with others. We will dockerize our app step by step now.
Step 1: Install Docker
For installation of docker, go here https://docs.docker.com/get-docker/
Step 2: Add Docker to your project
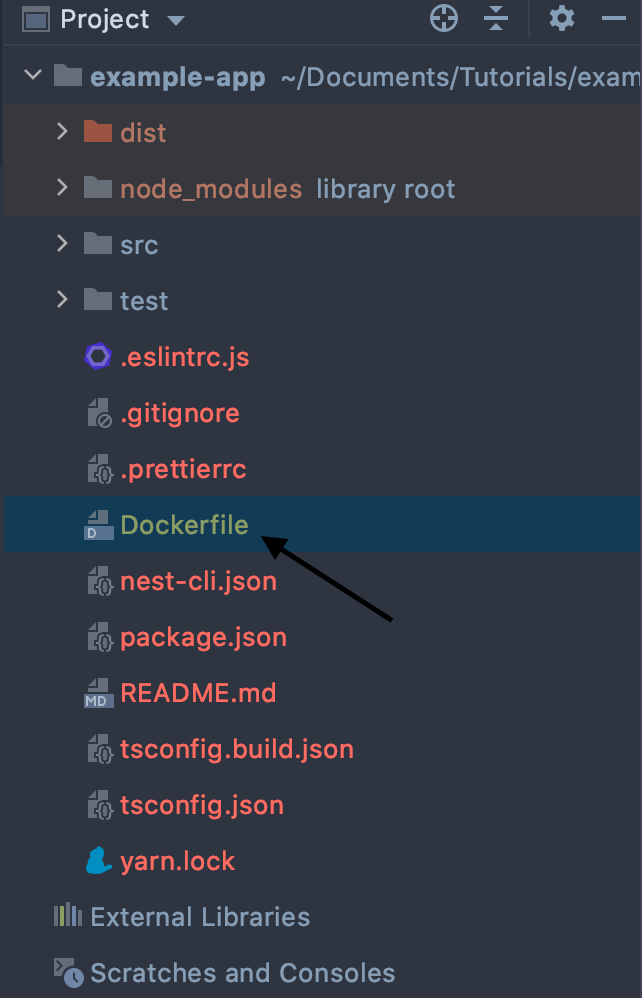
Add a new file named Dockerfile inside your root directory.

Step 3: Add Docker Commands
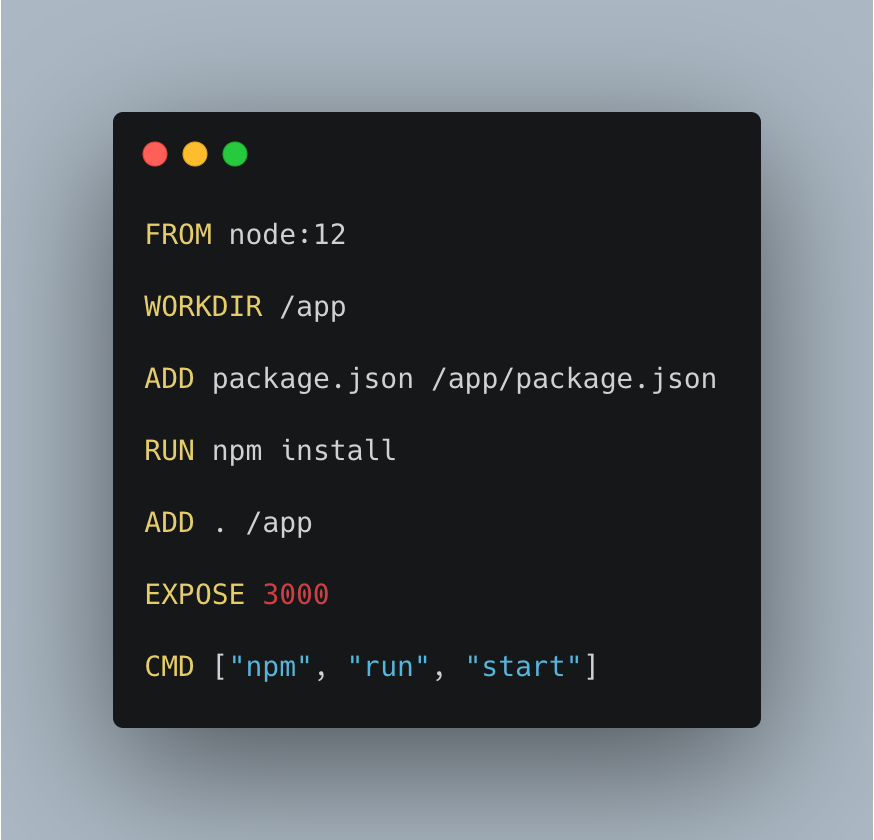
Add the following code to your Dockerfile.

Let’s analyze the code line by line.
FROM node:12Here we are setting our base image upon which our app will run. Here we are choosing node:12 it is an official image of the node which can be found in the docker hub.
WORKDIR /appwe set our work directory, which is named app.
ADD package.json /app/package.jsonwe move the package.json file into our working directory.
RUN npm installwe run our usual npm install inside our root directory
ADD . /appwe move the contents into the app directory
we expose the 3000 port in the container so that it can communicate with the outside of the container. it will depend on which port your application is running on. for nests, usually, it’s 3000
CMD ["npm", "run", "start"]finally, we run our command to start the app. Any docker file can have only one CMD command in this.
Step 4: Build your Docker image
Run the following command to build your docker image. run this from the same root directory of your project
docker build . -t example-appHere we are naming our image by using the -t. we can give any name to our image. for consistency, we are using the project name here. it will take a while to build the image.
Step 5: Run the docker image
We can view the images by running them.
docker imagesIt will list all the images on our machine

we can see that our image has ‘latest’ as a tag. It is given by default. We can retag our image if we want to. Now to run our image, we first need to stop the running instance of the project by Ctrl+ C and then run the following command ….
docker run --rm -it -p 3000:3000/tcp example-app:latestThis command has several parts, but the most important part is to look into the 3000:3000/tcp here; the first 3000 means the port of our local host that we want to be mapped into the running docker image. And the second 3000 is the exposed port from inside the docker container as we set before.
If we want to see if that worked, we can go to our browser as before and go to. http://localhost:3000/ to see if it worked as expected.
Step 6: Playing with it
Now you can change your code, rebuild the image, and run again to see if the change is found in the docker image.
You can find the code of the project here. https://github.com/Mohammad-Faisal/example-nestjs-app
Get in touch with me via LinkedIn

